
Here is a step by step photo tutorial
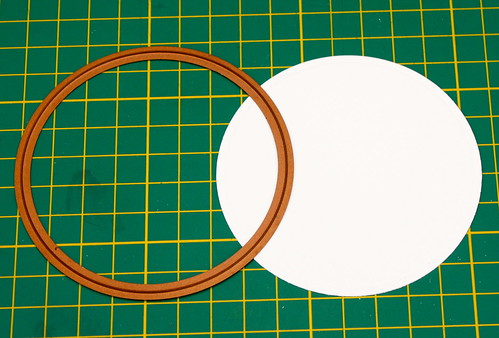
 Cut two circles from white card using Spellbinders
 3” Standard Circles SM S4-116. Stamp Penny Black’s Flower Poetry 4311K with Memento Bamboo Leaves ink, distress the edge with Tim Holtz Spun Sugar distress ink using a blending tool and colour the flowers and leaves using Copic Sketch Markers RV11 and G24. With the other circle still in the die, edge with Tim Holtz Spun Sugar and Victorian Velvet Ink and then stamp the sentiment from Penny Black’s Gratitude set 30-105 with Versafine Onyx Black ink.
 On a scrap piece of white card stamp Flower Poetry again with bamboo ink and colour leaves with Copic markers G24 (base colour), YG 17 feather out from the base for mid-tone and YG97 again feather from base for deepest shade. Cut out leaves.
On another piece of scrap paper stamp Flower Poetry using Memento London Fog ink and colour the flowers using Copic markers RV11 (base colour)
R83 (mid-tone) feather from the centre of the petal, and R39 for the deepest shade again shade from the base of the petal. Add highlights using Copic White and cut out.
 Here you can see a close up of the shading on the flowers.
Shape leaves and petals using an embossing tool on a foam mat.

To make stamen, take some green cotton and dip into Beacon Stiffen Stuff, add a weight to the bottom and leave to dry. When dry squeeze a blob of Ranger White Opal Liquid Pearls on the ends of the thread and leave to dry. Once dried pierce holes in the flower centres and thread stamen through.
 Cut a matt using white cardstock and Spellbinders 3 1/4” Standard Circles LG S4-114 and mount main stamped flower pattern on top.
Adhere the flowers and leaves to the main image using dimensional adhesive (I have used Pinflair Glue Gel, but Silicone glue will give the same result)

You can see the dimension created by popping the flowers and leaves up using this glue here.

Take some light and dark green card and cut and emboss several leaves using Spellbinders Foliage Two S5-129, colour the embossed areas with Le Plume Markers YG647 and YG642.

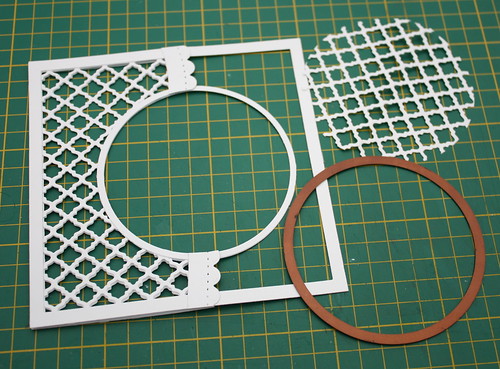
Take a separate piece of white cardstock (measuring at least 8” square) and cut and emboss with Spellbinders Fancy Lattice S5-152. Tip:- I line up the die to cut the larger area by inserting the last row of the cut paper in the first row of the die, that way I get a perfect match.
 Repeat stamp Penny Black’s Bed of Roses 40-190 onto Fuchsia Fantasies Mix and Match Cardstock 13-001 using Tim Holtz Victorian Velvet distress ink . Cut and emboss using Spellbinders 5 1/2” Grand Squares LF-126. Distress edges using Victorian Velvet ink and a blending tool.
Take two strips of white card and cut and emboss borders using A2 Curved Borders One S5-180.
To make the front of the card, fold the trellis piece in half and attach to one of the square frames so that the edge is on the left side of the square and the fold is in the middle. (trim any excess trellis so that it fits within the square. Open out the trellis and cut out a circle in the centre using Spellbinders
3 1/2” Standard Circles SM. Fold back in half and attach one of your circle frames to the left front half. Trim the curved border so that it fits above and below the circle, stitch the dotted line with green thread and then attach to the card.

Use the remaining circle and square frames to edge the inside of the folded card as can be seen in the picture here. You can then adhere the edge left inside edge to the front of the pink card to create a z shaped fold card.

Attach the leaves to the front of the card and then run a wire down the middle of the crease in the trellis, glue the wire in place and hide with the remaining piece of curved border.

Glue the front and back stamped panels to the wire so that they are suspended in the frame, add pearls to the curved border to finish.
Here is a view of the inside

I have been die-ing to share with you some other exciting news, for details of Penny Black's Latest release, don't forget to check out their blog all this week here.

Hugs Cathy
x